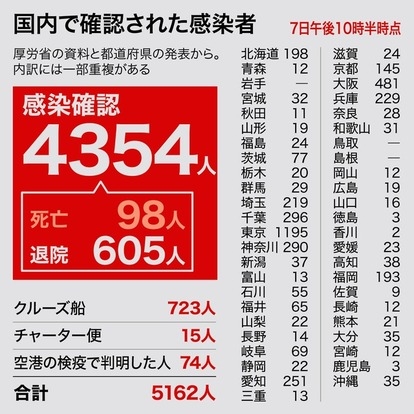
「新型コロナウイルス」の猛威により原則テレワークとなり、明日から許可なく出社が出来なくなりました。
会社に行くのは、もう諦めました・・・・・・。
自宅だと家事・育児が加わるので仕事になりません、仕事をする気もおきません。
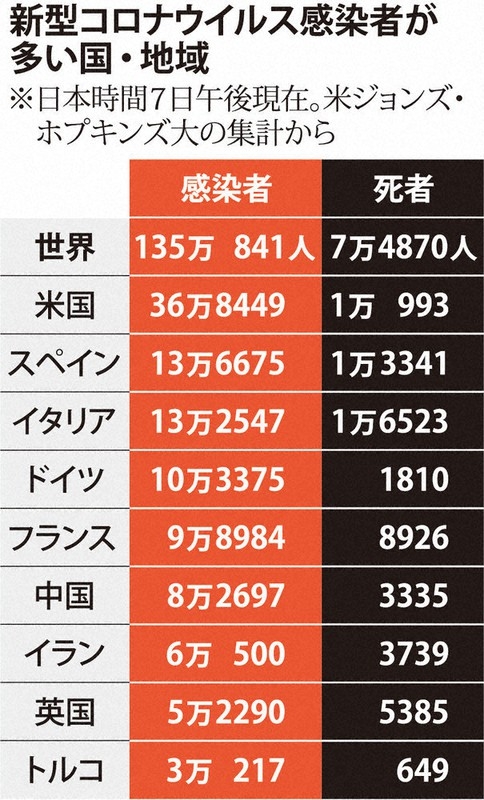
そして世界はもっと大変な状況です。
なお、マスクはやっぱり手に入りません。自宅に籠もるなら必要ないですが・・・。
ある知り合いに依頼されたサイト修正にて、古いVersionのWordpress、PHPを利用しているためにブログカードやAddQuickTagプラグインを導入できなかったので、各種サイトを参考に編集して実装しました。
画像付きのリンクは「ブログカード」と言うそうです。
ブログカードを作成するときには、「Pz-LinkCard」という有名なプラグインがあります。
プラグインが増えると重くなるとのことで、自作するブログが幾つかありました。
基本ググれば情報はありますが、一通りまとめたページは見つからなかったので後学のために乗せておきます。
PHP(PHP 5.2.17~7.3.15)やWordpress(3.5.1~5.4)のバージョンで動作する事を確認済です。
OpenGraph.phpの設置
OpenGraph.phpは外部サイトのOGPタグから各種情報を取得できるようにするためのPHPファイルです。

ダウンロード後にZipを解凍して、「OpenGraph.php」をWordPressのfunctions.phpが置いてあるディレクトリと同じ場所にアップしてください。
なお文字コード対応で、84行目付近に文字エンコーディングに関する記述を追加します。
|
1 2 3 4 5 6 7 |
static private function _parse($HTML) { $old_libxml_error = libxml_use_internal_errors(true); + $HTML = mb_convert_encoding($HTML,"HTML-ENTITIES","UTF-8"); $doc = new DOMDocument(); $doc->loadHTML($HTML); |
PHP(functions.php)の書き換え
「/wp/wp-content/themes/*/functions.php」を書き換えます。
ファビコンを取得する方法まで提案されている方もいましたのでそのまま掲載しておきますが動作ません。
また、内部ブログもOpenGraph.phpを使ってアクセスしているために表示までの時間がかかります。
と言うか、公開されているどの方法も冗長なので、もろもろ大半を書き換えました。
|
1 2 3 4 5 6 7 8 9 10 11 12 13 14 15 16 17 18 19 20 21 22 23 24 25 26 27 28 29 30 31 32 33 34 35 36 37 38 39 40 41 42 43 44 45 46 47 48 49 50 51 52 53 54 55 56 57 58 59 60 61 62 63 64 65 66 67 68 69 70 71 72 73 74 75 76 77 78 79 80 81 82 83 |
/* 外部リンク対応ブログカードのショートコードを作成 */ function use_opengraph($url, $title, $excerpt) { //OGP情報を取得 require_once 'OpenGraph.php'; $graph = OpenGraph::fetch($url); //OGPタグからタイトルを取得 if(empty($title)){ $Link_title = $graph->title; } //OGPタグからdescriptionを取得(抜粋文として利用) if(empty($excerpt)){ $Link_description = wp_trim_words($graph->description, 60, '…' );//文字数は任意で変更 } return array($Link_title, $Link_description); } function show_Linkcard($atts) { extract(shortcode_atts(array( 'url'=>"", 'title'=>"", 'excerpt'=>"" ),$atts)); //画像サイズの横幅を指定 $img_width ="170"; //画像サイズの高さを指定 $img_height = "130"; // 内部サーバーへのリンクか? if(strpos($url, $_SERVER["HTTP_HOST"]) !== false){ $id = url_to_postid($url);//URLから投稿IDを取得 if(!empty($id)){ //タイトルを取得 if (empty($title)){ $title = wp_strip_all_tags(get_the_title($id)); } //抜粋文を取得 if (empty($excerpt)){ $excerpt = wp_strip_all_tags(get_the_excerpt($id)); } } } if (empty($title) || empty($excerpt)){ list($Link_title, $Link_description) = use_opengraph($url, $title, $excerpt); } if(empty($Link_title)){ $Link_title = $title; } if(empty($Link_description)){ $Link_description = $excerpt; } //wordpress.comのAPIを利用してスクリーンショットを取得 $screenShot = 'https://s.wordpress.com/mshots/v1/'. urlencode(esc_url(rtrim( $url, '/' ))) .'?w='. $img_width .'&h='.$img_height.''; //スクリーンショットを表示 $xLink_img = '<img src="'. $screenShot .'" width="'. $img_width .'" />'; //ファビコンを取得(GoogleのAPIでスクレイピング) // $host = parse_url($url)['host']; // $searchFavcon = 'https://www.google.com/s2/favicons?domain='.$host; // if($searchFavcon){ // $favicon = '<img class="favicon" src="'.$searchFavcon.'">'; //外部リンク用ブログカードHTML出力 $sc_Linkcard .=' <div class="blogcard ex"> <a href="'. $url .'" target="_blank" rel="noopener noreferrer"> <div class="blogcard-thumbnail">'. $xLink_img .'</div> <div class="blogcard-content"> <div class="blogcard-title">'. $Link_title .'</div> <div class="blogcard-excerpt">'. $Link_description .'</div> </div> <div class="clear"></div> </a> </div>'; # <div class="blogcard_link">'. $favicon .' '. $url .' <i class="icon-external-link-alt"></i></div> return $sc_Linkcard; } //ショートコードに追加 add_shortcode("nlink", "show_Linkcard"); |
CSSへのスタイル追加
スタイルシートは次の通りです。
通常は「style.css」に追記しますが、読み込まれていなかったので「blog.css」というファイルに記載しました。
|
1 2 3 4 5 6 7 8 9 10 11 12 13 14 15 16 17 18 19 20 21 22 23 24 25 26 27 28 29 30 31 32 33 34 35 36 37 38 39 40 41 42 43 44 45 46 47 48 49 50 51 52 53 54 55 56 57 58 59 60 61 62 63 64 65 66 67 68 69 70 71 72 73 74 75 76 77 78 79 80 81 82 83 84 85 86 87 88 89 90 91 |
.blogcard { background: rgba(21, 136, 33, 0.02); border: 1px solid #158820; word-wrap: break-word; max-width: 100%; border-radius: 5px; margin: 0px 10px 15px 10px; box-shadow: 0px 0px 3px 0px rgba(0, 0, 0, .2); -webkit-transition: 0.3s ease-in-out; -moz-transition: 0.3s ease-in-out; -o-transition: 0.3s ease-in-out; transition: 0.3s ease-in-out; } .blogcard:hover { cursor: pointer; box-shadow: 0 10px 20px -5px rgba(0, 0, 0, .2); -moz-transform: translateY(-2px); -webkit-transform: translateY(-2px); transform: translateY(-2px); } .blogcard:before { font-family: FontAwesome; position: absolute; padding: 2px 6px; content: "詳細を見る"; background-color: #158820; color: #fff; font-size: .8em; z-index: 1; } .blogcard a { text-decoration: none; } .blogcard-thumbnail { width: 35%; display: table-cell; vertical-align: middle; padding: 10px 0 10px 10px; } .blogcard-thumbnail img { padding: 0; } .blogcard-content { display: table-cell; vertical-align: middle; } .blogcard-title { font-size: 1em; margin: 5px 10px 5px 0px; font-weight: bold; line-height: 1.4; } .blogcard-title:hover { text-decoration: underline; } .blogcard-excerpt { font-size: .74em; color: #4c4c4c; margin: 0 10px 5px 0; line-height: 1.3; display: -webkit-box; -webkit-box-orient: vertical; -webkit-line-clamp: 4; overflow: hidden; text-overflow: ellipsis; } .blogcard .clear { clear: both; } @media screen and (max-width: 500px) { .blogcard:before { font-size: .56em; } .blogcard-title { font-size: .70em; } .blogcard-excerpt { font-size: .60em; } } |
WordPress上でのリンクの書き方
書き方は次のようになります。
|
1 2 3 |
[nlink url="https://www.yahoo.co.jp"] [nlink url="https://nehori.com/" title="任意のタイトル名" excerpt="任意の説明文"] |
書き方は容易ではありますが、タグ打ちをしない人には難しいかと思います。
このため「AddQuickTagプラグイン」を使ってクイックタグを追加する方法が取れる人はそのように対応してください。
AddQuickTagプラグインを使わず自分でクイックタグを追加
AddQuickTagプラグインを追加すると、なぜか表示画面が真っ白になりました・・・・。
仕方ないので、こちらも自作します。
クイックタグを追加するためには、
「QTags.addButton」
というAPIを使います。
|
1 2 3 4 5 6 7 8 9 10 |
//追加クイックタグ function add_my_quicktag() { ?> <script type="text/javascript"> //QTags.addButton('ID', 'ボタンの表示名', '開始タグ', '終了タグ'); QTags.addButton('nlink','nlink','','"]\n'); </script> <?php } add_action('admin_print_footer_scripts','add_my_quicktag'); |
この記事の方法はテキストエディタのみ反映するものになっています。
なのでビジュアルエディタにはボタンが表示されない仕様です。
他にも次のように追加できます。
|
1 2 3 4 5 6 7 8 9 10 11 12 13 14 15 16 |
//追加クイックタグ function add_my_quicktag() { ?> <script type="text/javascript"> //QTags.addButton('ID', 'ボタンの表示名', '開始タグ', '終了タグ'); QTags.addButton('h2','h2','<h2>','</h2>\n'); QTags.addButton('h3','h3','<h3>','</h3>\n'); QTags.addButton('h4','h4','<h4>','</h4>\n'); QTags.addButton('h5','h5','<h5>','</h5>\n'); QTags.addButton('p','段落','<p>','</p>\n'); QTags.addButton('br','改行',' \n'); QTags.addButton('bold','太字','<strong>','</strong>'); </script> <?php } add_action('admin_print_footer_scripts','add_my_quicktag'); |


